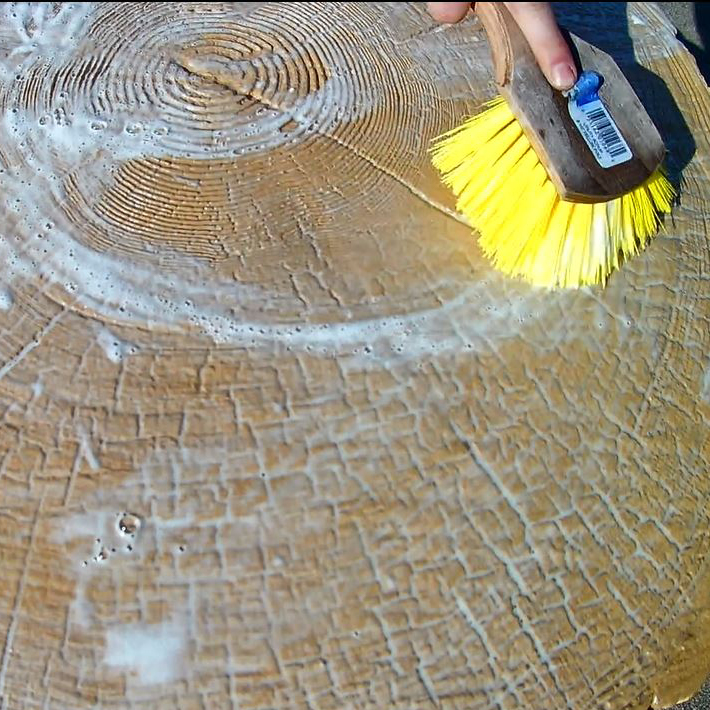
Creating a table or bench out of concrete isn't as hard as what it may seem. In this article we will describe the entire process of creating a lightweight concrete table using a glass fiber reinforced concrete (G.F.R.C.). While the steps we list are used with a G.F.R.C. mixture, this entire process can be used with leftover concrete from a job. Whether your a hobbiest or a contractor, a good looking concrete table is a task that anyone can achieve.
Step 1: Gather Supplies
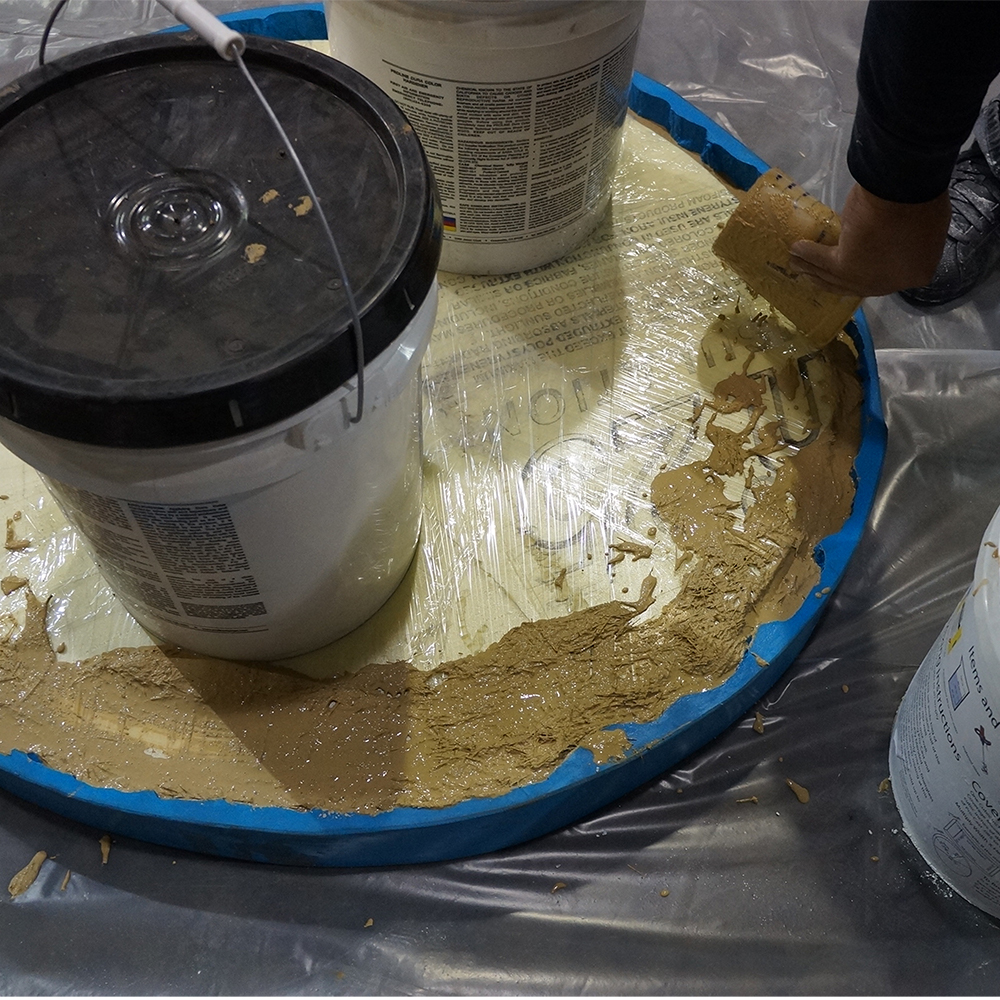
We obviously can't make a good looking table mold without the right supplies. A good glass fiber reinforced concrete (G.F.R.C.) mixture will be the main ingredient and the most important for a lightweight concrete table. We use Proline's ProCast. You will need one to two 5 gallon pails, depending on the thickness of table you want. For a full thickness live-edge table we used about 1 1/2 pails with the help of an insert (you'll see more about this later.)
The approach to coloring the table is up to you. However we found that to get a realistic wood look, a combination of integral color, accent color, and antiquing wash really made the table pop. Choosing a sealer is also based off of preference. We recommend a low gloss sealer when going for a realistic wood look. We use Proline's NatureShield because it can go on thin and will soak into the concrete with little gloss. Other miscellaneous items included a surface cleaner, like Dura-Clean, and a buffing pad to clean the concrete in between colorings.
Here's a full list of items we used to make this table:
2 Pails of ProCast
4 Color Packs (2 per pail)
Proline EZ-Accent
Proline EZ-Tique
Proline NatureShield 100 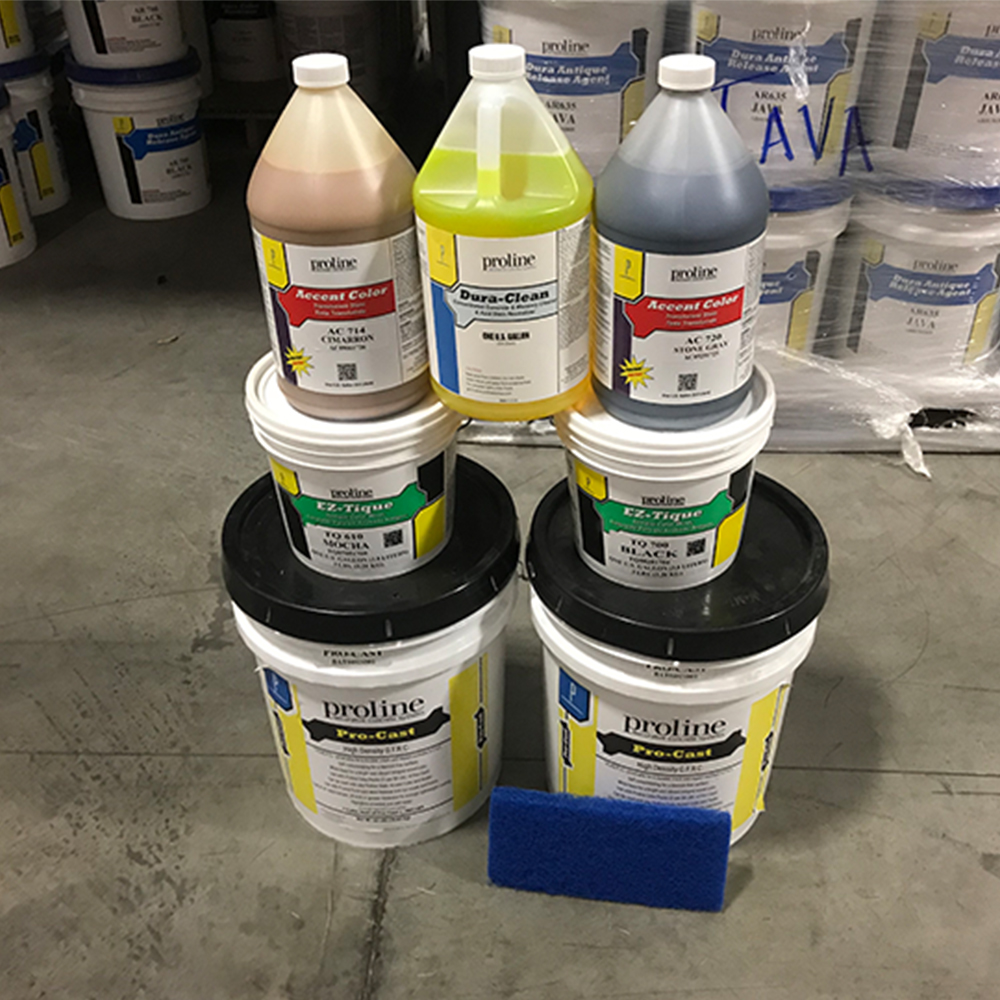
DuraClean
Buffing Pad
Acid Brush (For DuraClean)
Foam/Wrap (Optional but recommended)
Oh, and a mold
 |
Here's a full list of items we used to make this table: 2 Pails of ProCast Oh, and a mold |
Step 2: Add ColorPacks to Water
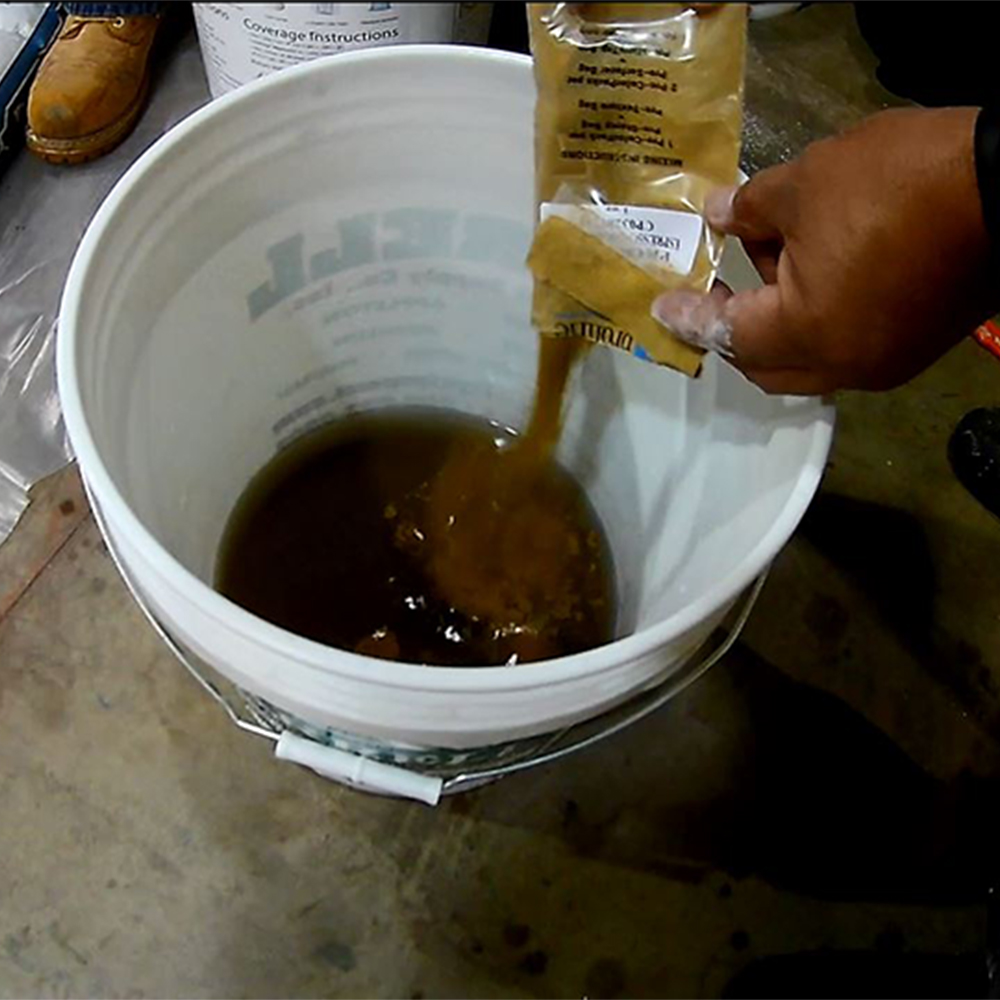 |
If you are adding integral color to the concrete (which you |
Step 3: Mix in Slurry
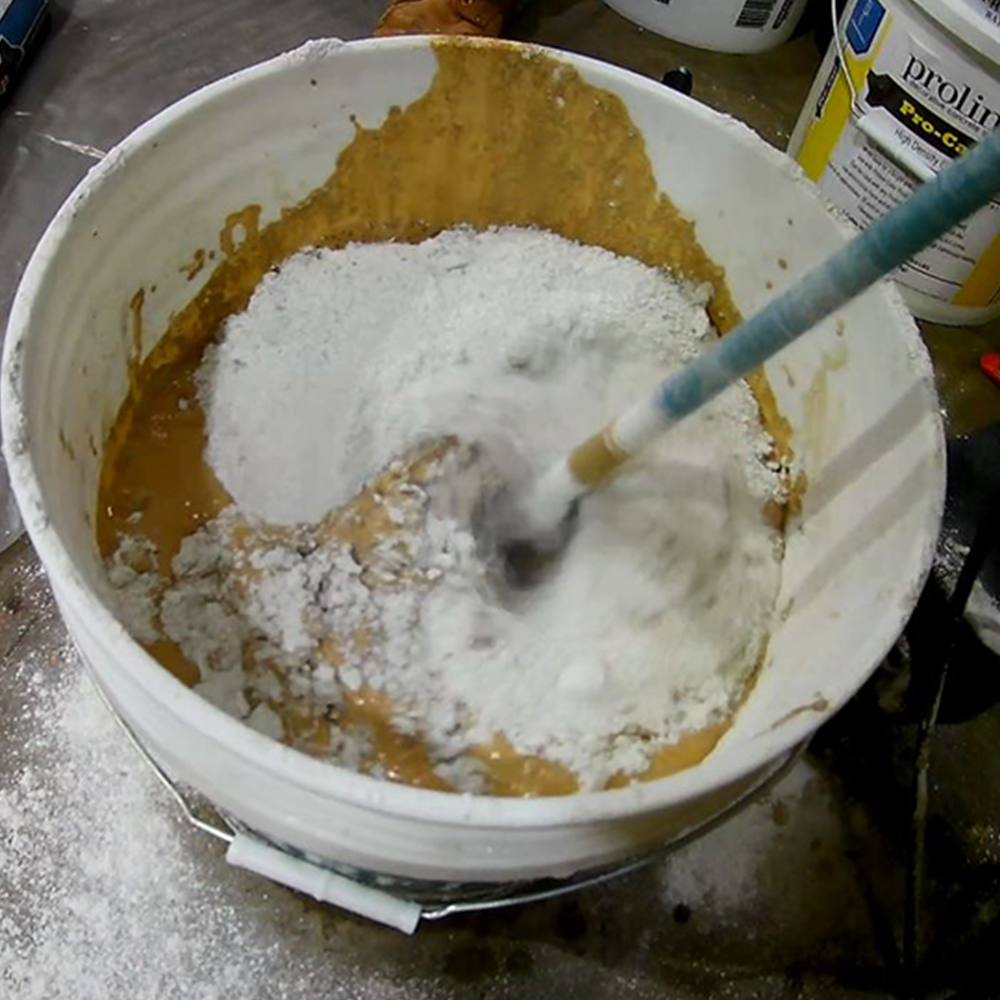 |
When we are confident that the color has mixed into the water completely, we start to mix in the concrete mixture. Leave out the bag of fiber glass that comes in the pail. You'll see later why we take it out for now. Mix the slurry until there are no clumps and it has the consistency of a milkshake. |
Step 4: Rub Slurry into Mold
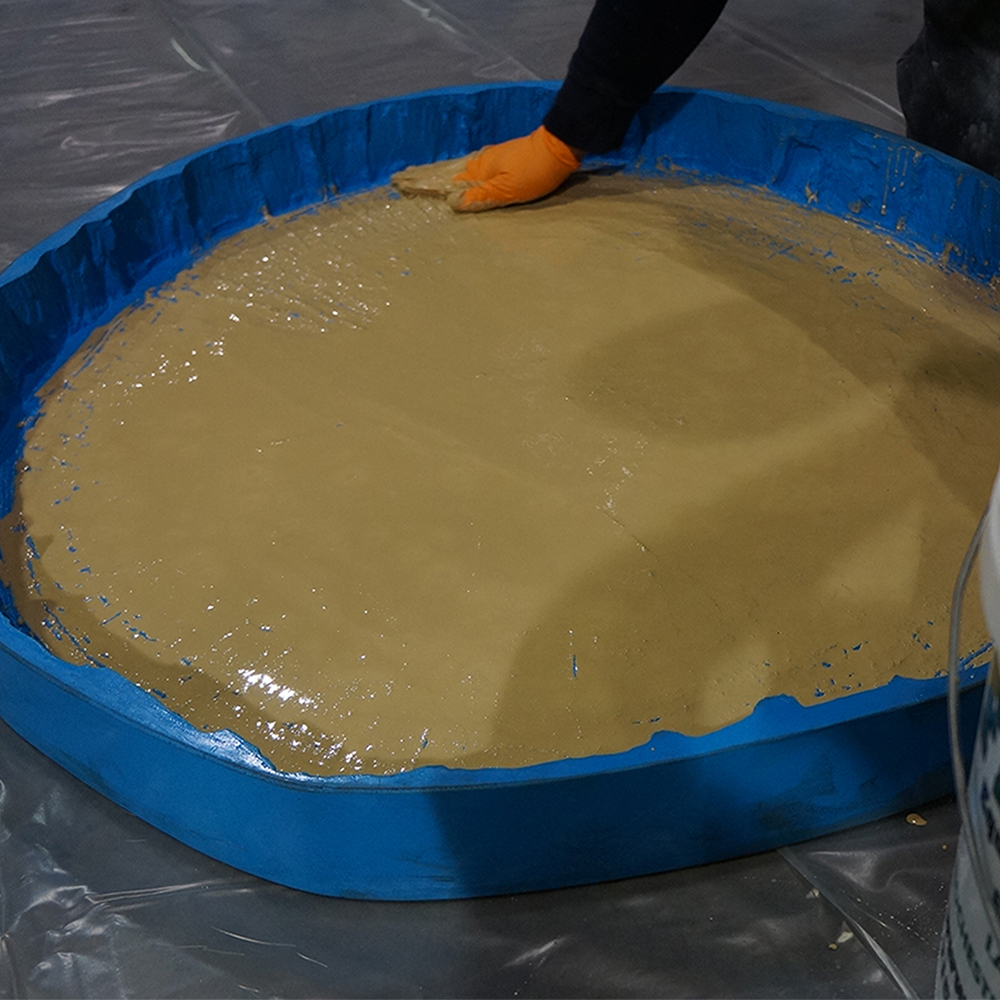
Step 5: Add Fiber Glass and Mix
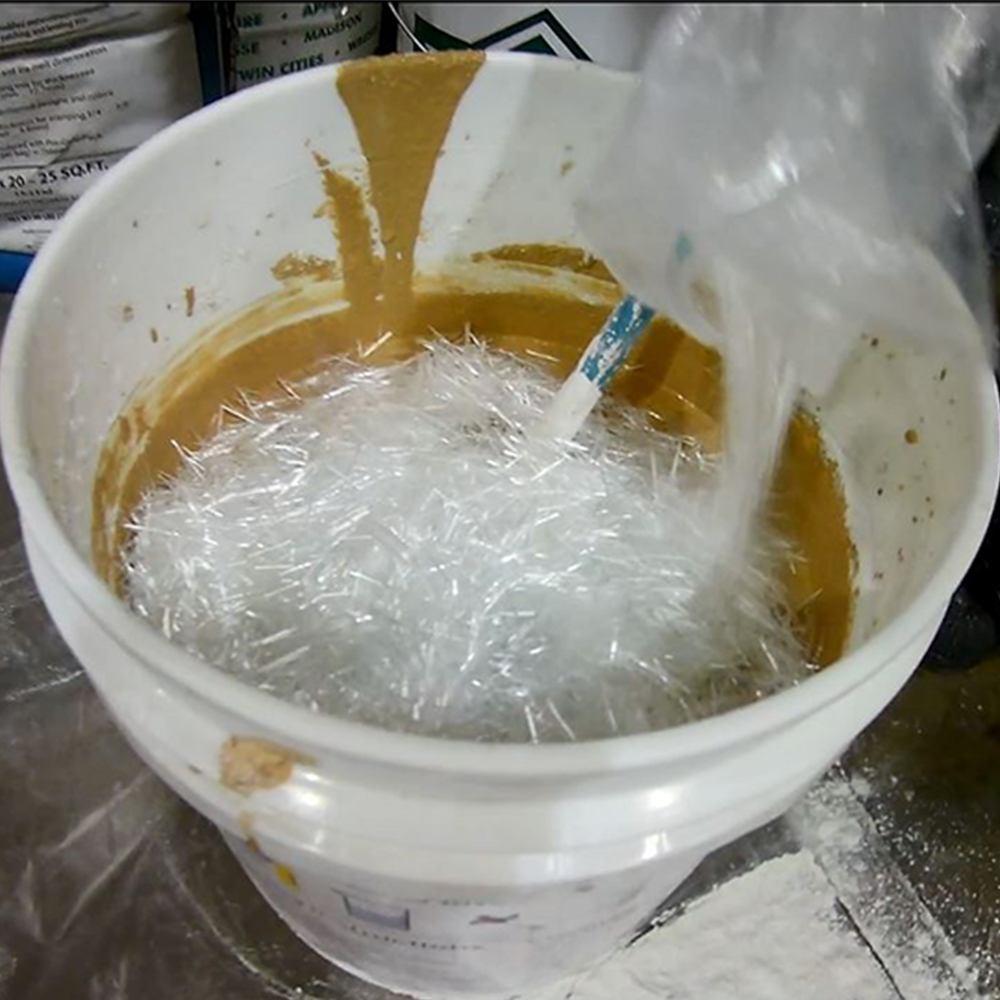
Step 6: Pour Mixture into Mold
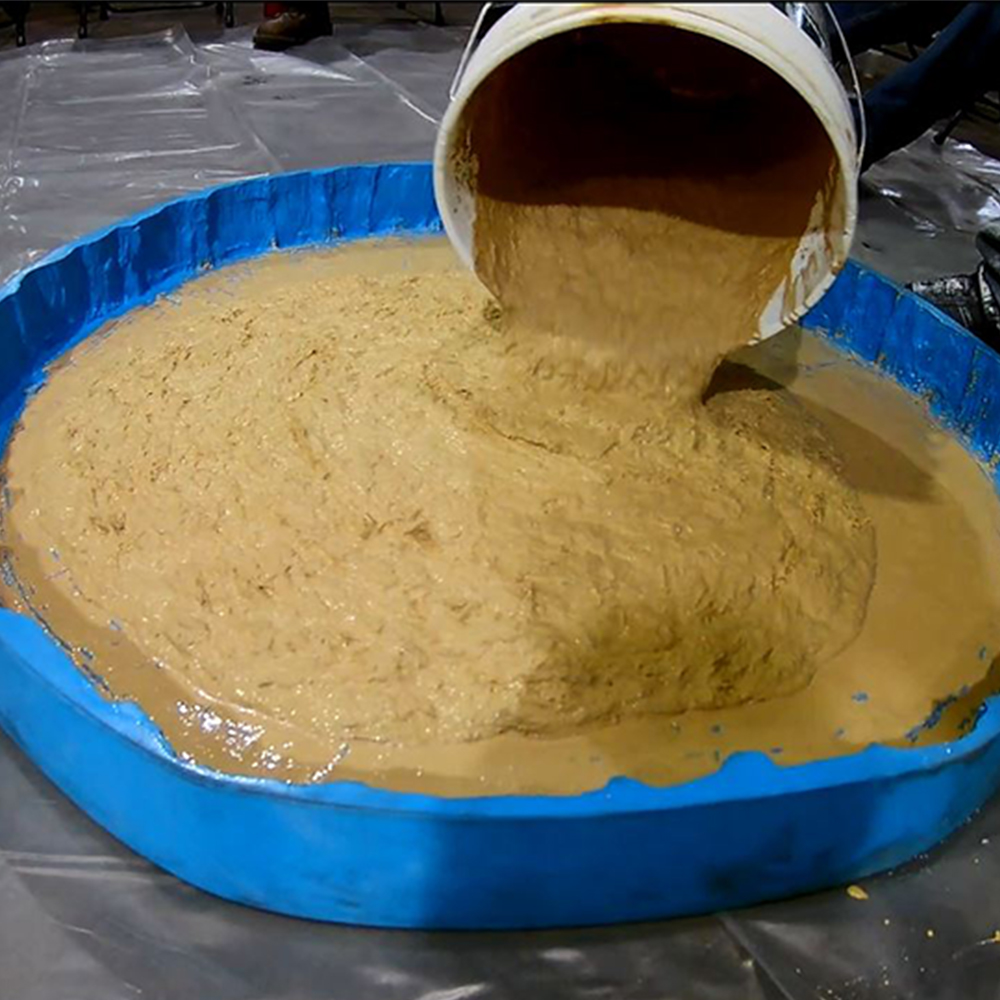 |
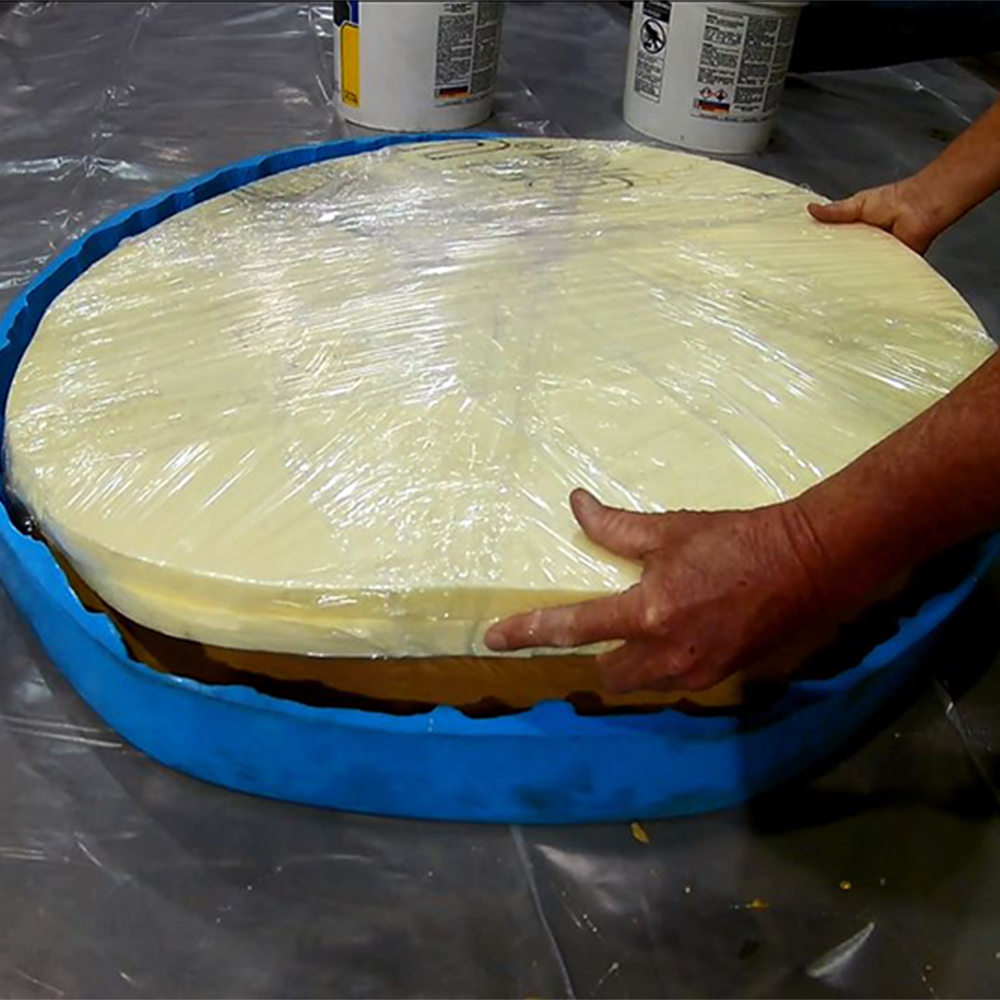 |

Step 7: Place Foam Insert

Step 7: Fill In Edges
Step 8: Let Dry & Remove
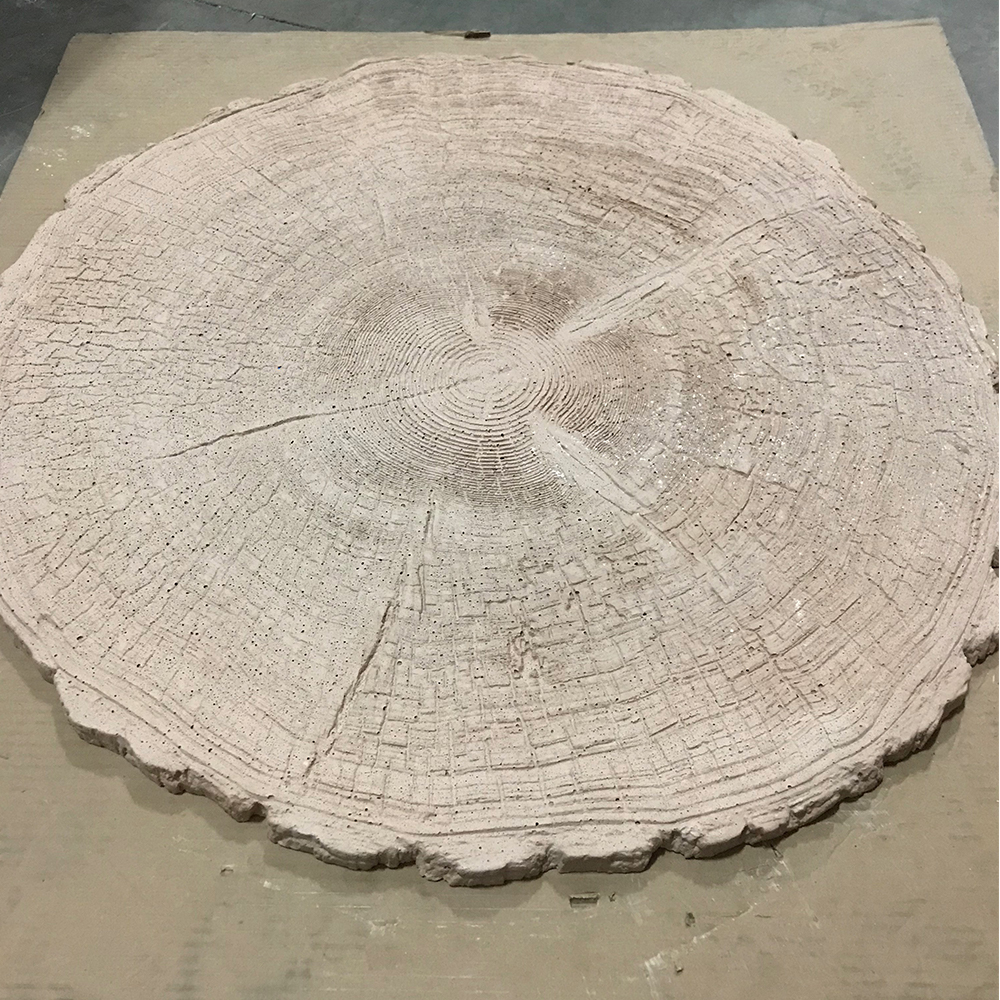
Step 9: Clean
